How to manually setup MySQL server on Windows
Overview
Background
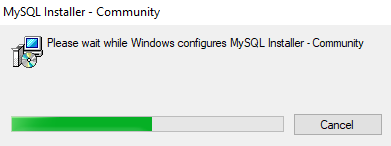
MySql installer hangs
Recently I tried to install MySQL server on my Windows 10 development machine.
First, I tried the MSI installer which is available from MySql Community Downloads as both 32-bit and 64-bit editions.
Unfortunately, after running the installer, it kept hanging in the middle of the setup as shown in the picture.
I could't find the solution for this, so I decided to try to manually setup and configure MySql.
My Stack
- Windows 10 Pro 64-bit (10.0, Build 18363)
- MySql Server Community Edition 5.7.29
Downloading the binary zipped version
- Go to the MySql developers site and download the latest zipped version - (Windows (x86, 64-bit), ZIP Archive)
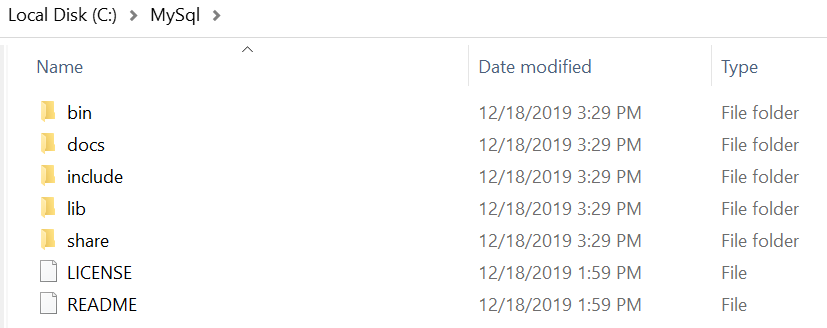
My Sql directory in Windows Explorer
- In case you have a 32-bit operating system, download Windows (x86, 32-bit), ZIP Archive.
- Extract the zip archive into a new folder. In this case, I am extracting to
c:\MySql. - Pay attention to extract the files into the main
c:\MySqldirectory as shown in the picture. - Looking at the
c:\MySql\bindirectory, we can find a few important executablesmysqld.exe- this is the actual database server that will accept connections from clients. It listens by default for requests from port 3306. (the suffix letter 'd' is for daemon or service)mysql.exe- this is the command line client that can be used to view/create/edit the databases and the tables.
Initializing the database
Before staring the database building process, we need to open the Windows Command Prompt with the Administrator privileges.
-
First thing we need to do is to initialize the MySql database on our machine. It will create the 'data' folder and setup the system tables.
-
In the command prompt, change the directory to
c:\MySql\binand type the following command:
1mysqld.exe --console --initialize
-
If the command succeeded, the new folder 'data' should be created at the root directory folder. (
c:\MySql\Data). -
Pay attention to the command prompt as the command provided the default username (root@localhost) and the password. I recommend copying the password to a Notepad file.
-
Alternatively, you could use the same initialize command without the
--consoleswitch. In this case, the output will be written to the log file located in the data directory (you_computer_name.err). -
Run the server via command line:
1mysqld.exe --console
- The console window should show an output similar to the one shown in the picture.
- The server should be listening on port 3306.
- You should see:
mysqld.exe: ready for connections.
Important: Don't close this console window as it will close the server and we will not be able to connect with clients.
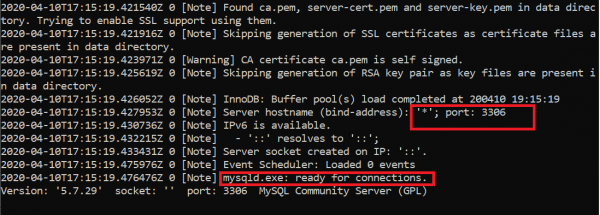
MySql server ready for connections
Connecting to the database
Now that we have the system tables setup and created the root user, we can try connecting to the database.
Connecting via command line
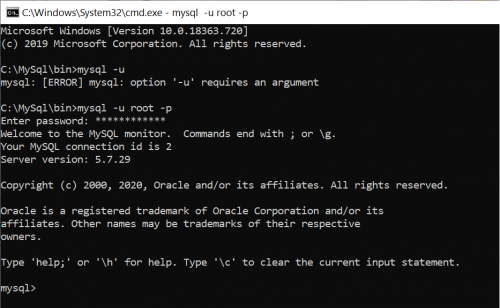
My sql command line tool welcome screen
- Open another command line window (don't close the mysqld) and change the directory to
c:\MySql\bin. - Type
mysql.exe -u root -p - Once prompted, type the password you previously saved.
- You should see mysql command prompt as shown in the picture.
- Now lets try to execute a simple SQL statement like:
show databases - Here we get a pretty annoying message that we need to change the password before we execute such statements:
ERROR 1820 (HY000): You must reset your password using ALTER USER statement before executing this statement.
Changing the password:
- In the same command prompt, type (pay attention to the quotes and the semi-colon at the end of the statement):
alter user 'root'@'localhost' identified by '12345';- You should get the confirmation message:
Query OK, 0 rows affected (0.00 sec) - In order to test the new password, type
quitin the mysql prompt to exit to the Windows command prompt. Now repeat the command line step and login with the new password. - Type
show databases. You should get a list of system databases on your server.
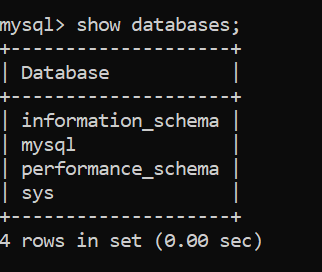
Show databases on mysql server
Running the server
Now that we have a database created and the server binaries' set, we probably want to set the server running in the background when the Windows machine boots.
Installing as a Windows Service
- Quit the mysqld process by pressing CTRL+X in the command prompt window.
- In the command line, type:
mysqld.exe --install - You should get a confirmation message:
Service successfully installed. - In order to start the service, type:
net start MySql
Running as a Console Application
In case you dont want to install MySql as a Windows service, you can run it as a console application in the logon process. Note that MySql will not run until you logon on to the machine.
- In Windows Files Explorer, type
C:\Users\%USERNAME%\AppData\Roaming\Microsoft\Windows\Start Menu\Programs\Startupin the address bar. This will open the Windows startup folder that includes exe/bat files that will automatically run when the user is logged on. - Create a new bat file,
runmysql.bat. - Put the following line in the file:
1call c:\MySql\bin\mysqld --console
Note that you can not run both, the server and the console application simultaneously unless you change the MySql listening port.
Wrapping up
I found this manual process very easy and intuitive, so I dont see a reason to use the installer for MySql anymore.
In the following posts, I will explain more about MySql configuration, logging, permissions and more.